Drip, drop, drip, drop, drip, drop – is this all you hear when you try to go to sleep at night? Do you go to the sink to wash your hands or face only to find that the floor or, even worse, yourself gets wet? If so, you’ll know that a leaking tap can be very annoying indeed. However trivial this issue might seem at first, a leaking tap should not be ignored as all those drops leaking from your tap can accumulate and cause major problems. Regardless of your plumbing abilities, fixing a leaking tap is a task that you would be well capable of managing yourself.
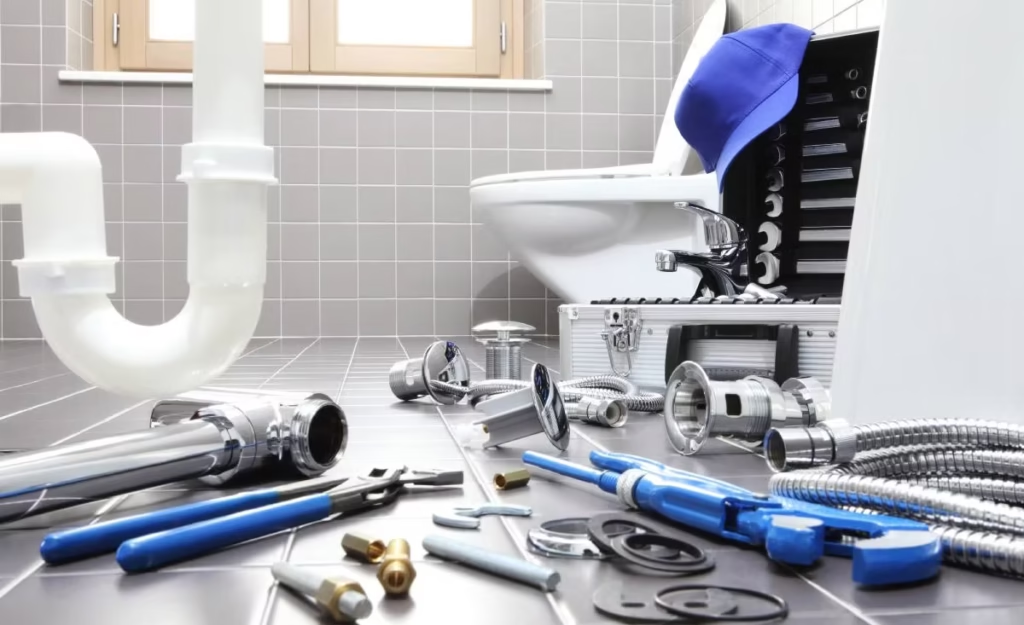
Having said this, you’ll need a couple of items and tools to hand, including:
· An adjustable wrench/spanner
· A flat head or Phillips screwdriver
· Some WD-40
· Replacement washers and rings
Now that you’ve got your tools and equipment, let’s get started with a quick 5-step approach to fixing that pesky leaking tap once and for all.
Step 1
Before you put your screwdriver or spanner to any part of the sink, ensure to turn off the water supply first. This may seem obvious, however, so keen are many people to get the job done that this step can often be overlooked. Either turn off the water at the stop cock or at the isolation valve. Turn on the tap to release any water still remaining in the pipe. Once you’re done, put the plug in the hole in the sink. Should any screws or others bits of the tap fall into the sink while you’re working, at least you can be reassured they won’t fall through the plughole.
Step 2
Remove the decorative cap on the tap. You’ll likely be able to remove the decorative cap by hand but if not, use the adjustable spanner or flat head screwdriver to help you unscrew it. Underneath the cap, you’ll then see a screw that mounts the handle to the stem of the tap. Unscrew this and remove the handle using your flat head screwdriver. Use WD-40 to loosen it if necessary.
Step 3
Take your spanner and loosen the packing nut/gland nut before removing the stem. The stem might just pop off for you but you may need to twist it. Check it for any damage in case it is contributing to the leak.
Step 4
Does everything that you have removed so far look in tact? If you have yet to identify the issue, you should move on and inspect the O-ring (top washer) and the bottom washer. They are most likely to be the source of your leak.
Step 5
Replace the washers if necessary. If you aren’t sure which replacement washers to get, bring the old ones to your hardware shop and ask the salesperson to find replacements to match. Once the washers are fitted, you’re good to reassemble the tap and turn your isolation valve back on.
If you have any inclination for DIY, you will be well able to fix a leaking tap. Follow this simple 5-step guide and the annoying sounds of water dripping from your sink will soon be a thing of the past.